Getting started with EmailTimer.App
Create your first countdown timer or personalized image and add it to an email campaign in four steps.
Step 1: Start from the gallery
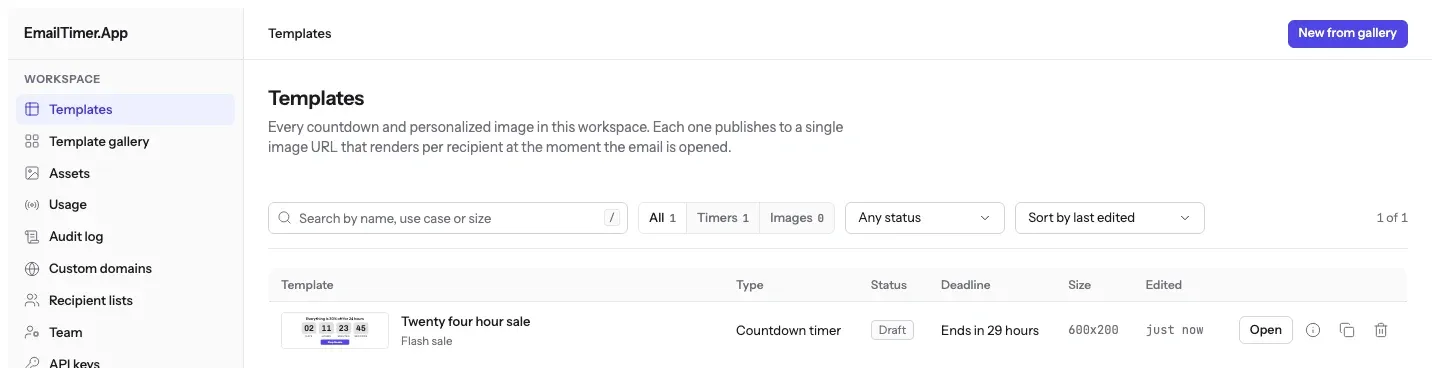
In the dashboard, open Templates and click Browse the gallery, or open Gallery from the sidebar. Every design comes in three sizes. Pick one and click Use this template, and it opens in the editor with its headline, its timer and its layout already in place.
A timer and a personalized image are the same kind of template. Any template can carry a countdown, text drawn from a subscriber's values, or both in one image.
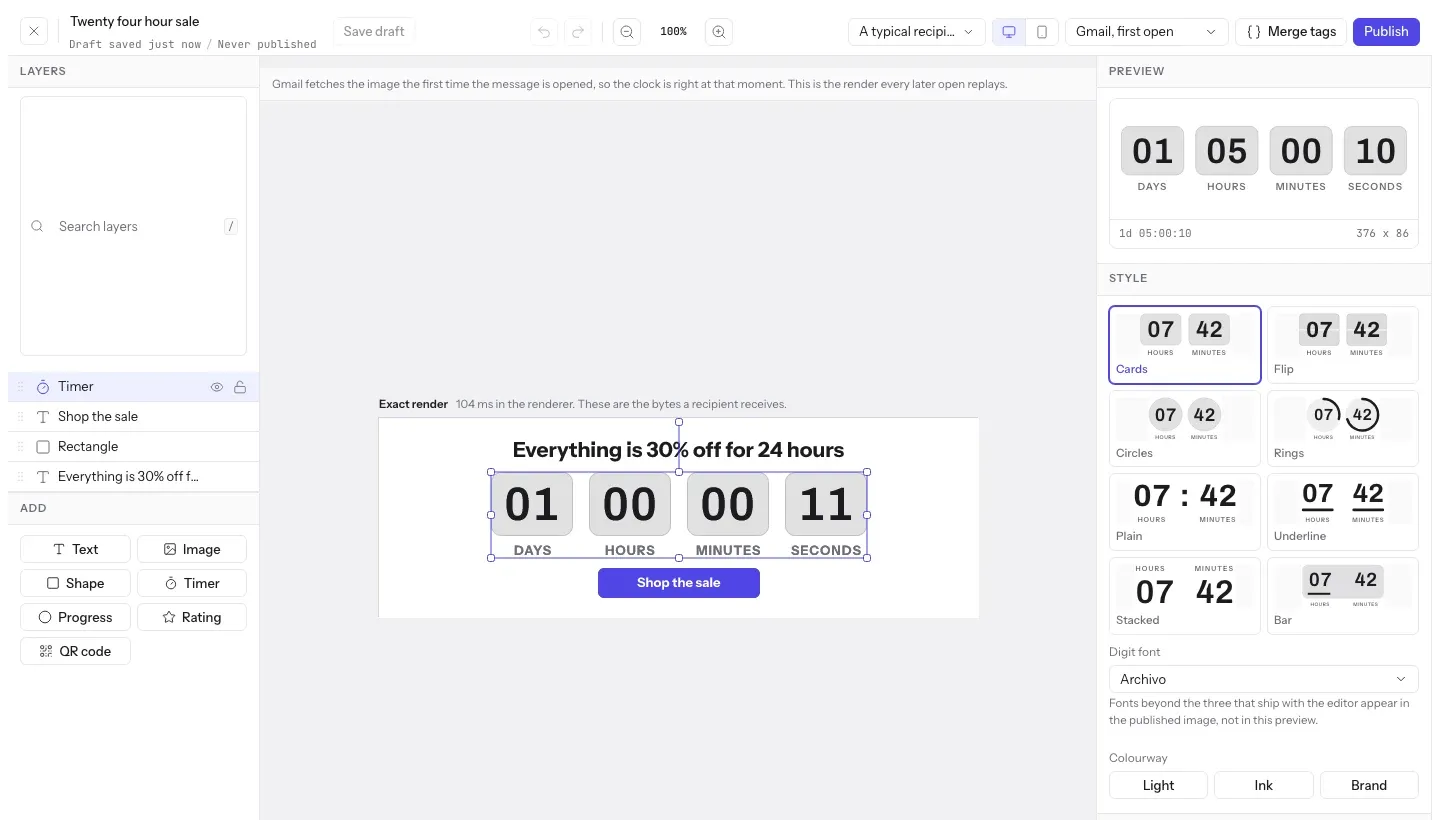
Step 2: Set the style and the deadline
Select the timer in Layers. The panel on the right has the settings, in this order:
- Style: one of eight timer styles, Cards, Flip, Circles, Rings, Plain, Underline, Stacked, Bar.
- Counts to: what the timer counts to. For a sale that closes at one moment, choose A date and time and set Ends and Timezone. A date from your list gives each person their own deadline, and needs one image address per recipient.
- Animation: how many frames, and whether the animation loops or holds its last frame.
- When it expires: what shows once the deadline has passed, either All zeros or An image of your own.
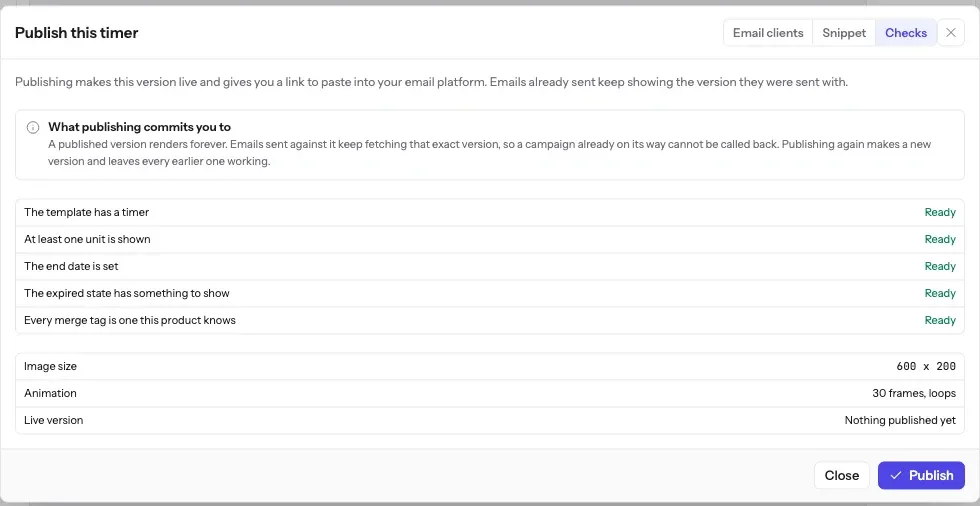
Step 3: Publish and copy the snippet
Click Publish. The Checks tab lists what has to be ready before the template can go live, and Email clients shows what Gmail, Apple Mail and Outlook will each display. On the Snippet tab, pick your email platform, choose One image for the whole send or A different image for each recipient, and click Copy for with your platform's name. For one image for the whole send, with Klaviyo tags, the snippet looks like this example:
<a href="https://yourstore.com/sale?code={{ coupon_code }}" target="_blank" rel="noopener">
  <img src="https://img.emailtimer.app/i/k7mQ2pXd.gif?w=w_8ha3fq&v=3&sig=YOUR_SIGNATURE"
       alt="{{ first_name }}, your 25% off ends at midnight tonight"
       width="600"
       height="200"
       border="0"
       style="display:block; width:100%; max-width:600px; height:auto; border:0;" />
</a>
The template id, the workspace id and the signature above are examples. The snippet you copy carries your own.
Why the merge tags are in the link and the alt text, and not in the image address. The image address is signed, and the signature covers every part of it. If your email platform swapped a name into that address after it was signed, the signature would no longer match, and every subscriber would get the fallback graphic instead of your timer. It would happen silently, because the image service always answers with a valid picture rather than an error, so nothing would alert you until somebody asked why the timer was a grey box. The clock does not need a merge tag anyway: it is worked out at the moment each person opens the email, which is why one address shows a different time to every reader. If you need a deadline that genuinely differs per subscriber, generate one signed address each with the batch endpoint and carry it in a contact field.
Step 4: Paste into your email builder and test
In your email builder, add an HTML content block or Code block and paste the copied snippet.
Send a test email to your inbox to confirm that:
- The timer moves when you open the message, for 30 seconds with the default frame count.
- The merge tags in the link and the alt text fill in with your test contact's values.
- The image is wrapped in a clickable link leading to your target landing page.
The API reference covers the endpoints, and pricing covers what each plan includes.